You’re standing on the pier, the sun is just starting to dip, and the water is glass. Suddenly, there’s a massive tug. Your heart races. You pull back, the rod doubles over, and then—snap. The line comes back limp, curly at the end like a pig’s tail. You didn't snap the braid or the mono. Your knot failed. It happens to the best of us, honestly, but it’s the most preventable heartbreak in the world of fishing. Learning how to tie a hook to a fishing line isn't just about following a diagram; it’s about understanding friction, heat, and the weird physics of nylon and fluorocarbon.
Most people think a knot is just a bunch of tangles that stay put. Wrong. A good fishing knot is actually a mechanical hitch. When you pull on it, it should tighten against itself. If you do it poorly, the line rubs against the metal eye of the hook, creates heat, and basically melts itself into a breaking point. We’ve all been there, frustrated and fumbling with cold fingers. But once you nail the muscle memory, you’ll be rigging up in total darkness without even thinking about it.
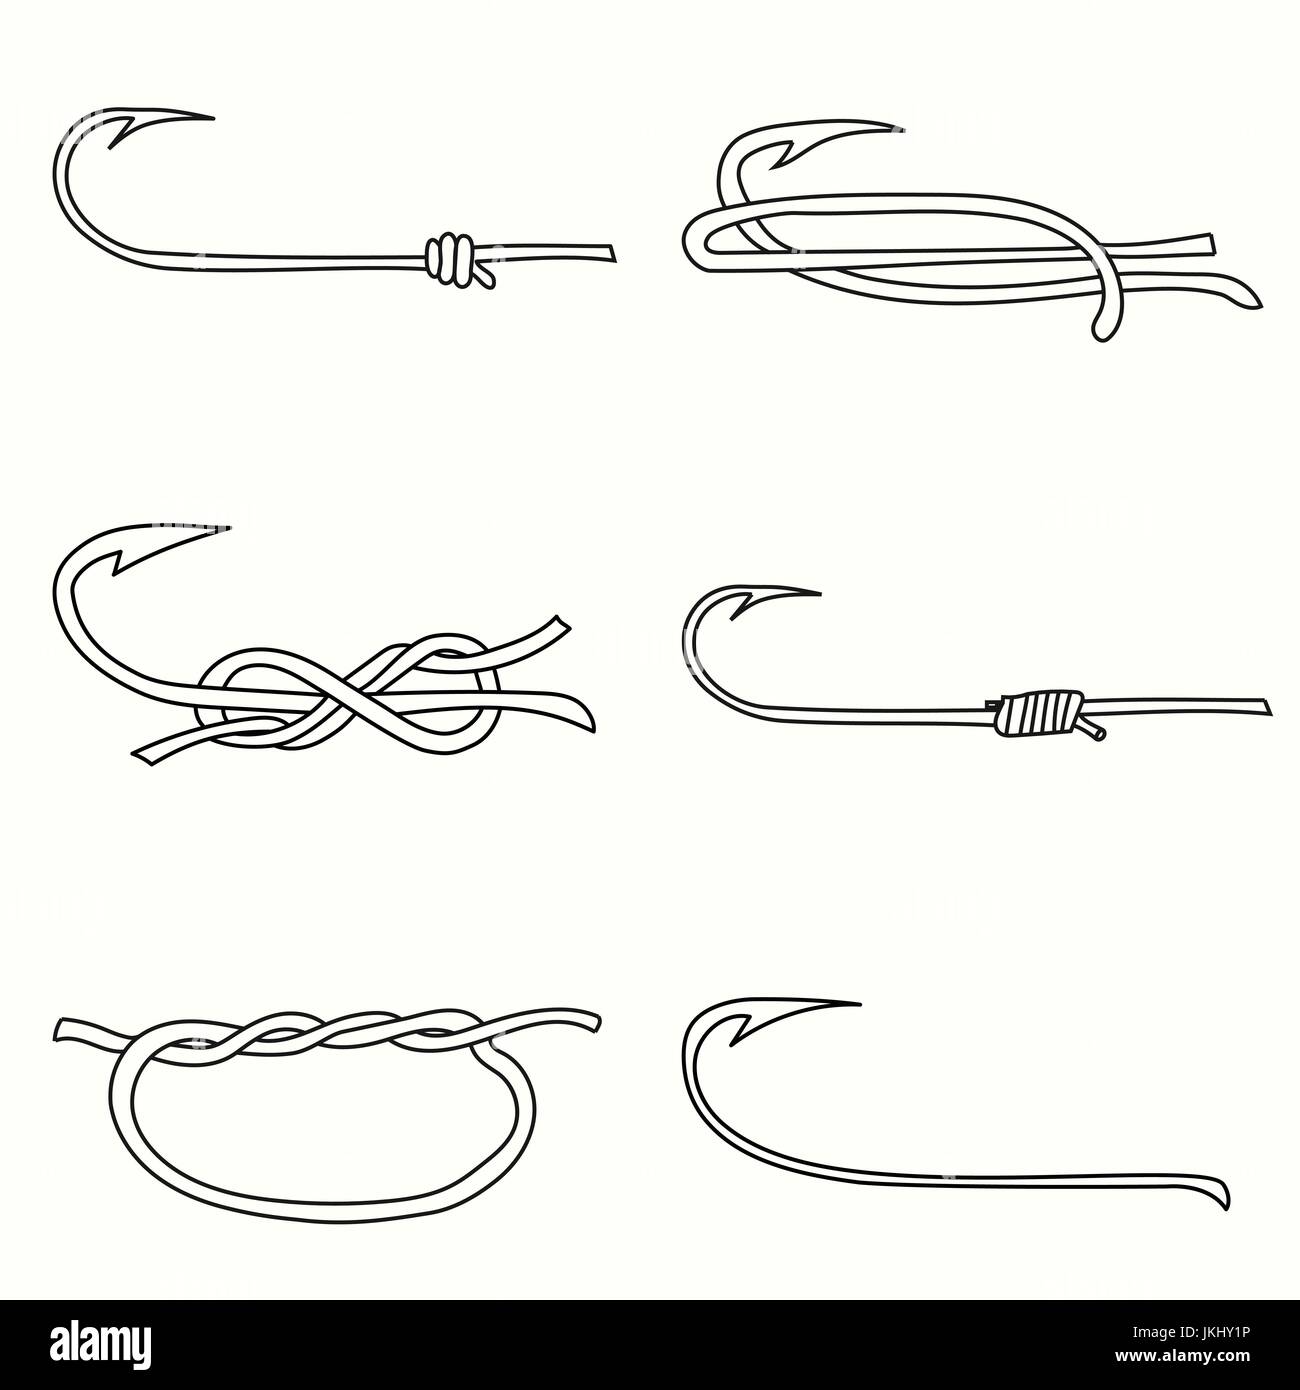
The Palomar Knot: Why Most Pros Swear By It
If you only learn one way of how to tie a hook to a fishing line, make it the Palomar. It is widely considered by legendary anglers like Kevin VanDam to be the strongest knot for most situations, especially when using braided line. Why? Because the line goes through the eye of the hook twice. Double the protection.
To start, you double about six inches of line to create a loop. Pass that loop through the eye of the hook. Now, tie a loose overhand knot with the loop and the doubled main line, making sure the hook is dangling inside the loop before you tighten anything. Take that loop, open it up, and pass the entire hook through it. Pull both ends to cinch it down.
Here is the secret: lubrication. Never, ever pull a knot tight while it's dry. Spit on it. The saliva reduces friction. If you pull it dry, the heat weakens the line, and that 20lb test you paid for becomes 10lb test instantly. You’ll feel the difference when the knot seats smoothly against the eye. It should look clean, not like a bird's nest.
The Improved Clinch Knot: The Old Reliable
You probably learned this one from your grandfather. It’s the "bread and butter" of the fishing world. While it’s not quite as bulletproof as the Palomar for heavy braid, it’s fantastic for monofilament and fluorocarbon. Basically, it’s the knot everyone uses when they’re in a hurry.
Thread the line through the eye and wrap the tag end around the standing line five to seven times. Don’t do four. Don’t do ten. Five to seven is the sweet spot for grip. Take the tag end and poke it through the small loop right next to the eye, then tuck it back through the larger loop you just created. This "tuck" is what makes it "improved."
I’ve seen guys lose huge bass because they forgot that final tuck. Without it, the knot can slip right out under steady pressure. When you’re tightening an improved clinch, pull slowly. If the coils overlap each other or look bunched up, cut it off and start over. A messy knot is a weak knot. No exceptions.
Why Your Knots Keep Slipping (And How to Fix It)
Ever wonder why your knot looks perfect but still fails? It’s usually the line type. Fluorocarbon is notoriously "slick" and stiff. It has a memory. If you use a standard clinch knot on high-end fluoro, it might just slide right off the hook. For that stuff, you really want a San Diego Jam Knot or a double-wrapped version of the Palomar.
- Line Diameter Matters: Heavy 50lb mono behaves differently than 4lb trout line.
- The "Burn" Factor: As mentioned, dry tightening kills knots.
- Tag End Length: Don't trim your tag end too close. Leave about an eighth of an inch. If the knot settles under the weight of a fish, it needs a tiny bit of "runway" so it doesn't unspool.
- Old Line: If your line has been sitting in the sun for three years, no knot will save you. It becomes brittle.
The Snell Knot: For the Serious Bait Fisherman
When you’re using live bait or flipping heavy cover, the Snell knot is a game-changer. Instead of tying the line to the eye, you’re actually wrapping the line around the shank of the hook itself. This creates a straight-line pull. When a fish grabs the bait and you set the hook, the Snell knot forces the hook to pivot upward, driving the point right into the roof of the fish's mouth.
It’s a bit more complex. You run the line through the eye, create a large loop along the shank, and then wrap that loop around the shank and the line multiple times. It feels awkward the first five times you try it. Your fingers will feel like sausages. But once it clicks? You’ll never go back to a standard eye-knot for circle hooks. It’s a mechanical advantage that's hard to beat.
Dealing with Braided Line Challenges
Braided line is made of polyethylene fibers. It’s basically high-tech string. It’s incredibly strong but has zero "bite." If you tie a simple knot, the braid will often just slide against itself because there’s no surface friction to hold it. This is why many people use a leader of monofilament or fluorocarbon.
If you are tying braid directly to a hook, you must use a knot that has multiple wraps. The Palomar is usually okay, but many offshore guys prefer a Berkley Braid Knot. It’s essentially a doubled-up clinch knot. If you see your braid knot "creeping" or slowly unraveling, you need more wraps. Honestly, just use a leader. It makes the whole process of how to tie a hook to a fishing line much more reliable because the mono "bites" into the metal eye better than braid ever will.
Common Mistakes Beginners Make
One of the biggest blunders is using too many wraps. People think twenty wraps must be stronger than five. It’s actually the opposite. Too many wraps create a bulky knot that can’t seat properly. It becomes a giant lump of plastic that is more likely to catch on weeds or fail under the shock of a strike.
Another mistake is using wire cutters or dull knives to trim the tag end. If you fray the line while cutting it, you're inviting a failure. Use a dedicated pair of line nippers or a very sharp pair of scissors. Clean cuts matter.
Also, check your hook's eye. Sometimes cheaper hooks have a tiny gap where the wire loop doesn't perfectly meet the shank. If your line is thin enough, it can actually slide through that gap and cut itself on the sharp metal edge. If you see a gap, don't use a knot that sits right on that spot—Snell it instead.
Testing Your Work
Before you cast out into the water, give it the "yank test." Don't be gentle. Wrap the line around your hand (carefully, don't cut yourself) and give the hook a firm pull. It’s better for the knot to break now, in your hands, than when a trophy fish is on the other end. If the line curls or the knot looks "stretched out," it’s a bad tie.
I’ve spent hours on the water watching people lose fish because they were too lazy to re-tie a knot that looked "mostly okay." Fishing is about eliminating variables. You can't control the weather or the fish, but you can 100% control the quality of your connection to the hook.
Actionable Steps for Your Next Trip
Start by practicing at home with a piece of heavy string and a large coat hanger or a big offshore hook. It’s much easier to see the "path" of the line when it's oversized. Once you understand the geometry of the Palomar or the Clinch, move down to actual fishing line.
- Check your line for nicks: Run the last three feet of your line through your fingers. If you feel any roughness, cut it off.
- Match the knot to the line: Palomar for braid, Improved Clinch for mono, San Diego Jam for fluoro.
- Lube every single time: Use water or saliva before tightening.
- Pull both ends: Make sure both the tag end and the main line are pulled to seat the knot.
- Leave a tiny tag: Don't cut it flush to the knot.
Mastering these connections turns a frustrating hobby into a successful one. You’ll spend less time rigging and more time actually catching. When that big hit finally comes, you won't be worried about your gear—you'll be worried about how you're going to fit that fish in the cooler.