You're standing in the international aisle. You see that plastic-wrapped stack of pale, square skins. They’re fine, I guess. But if you've ever had a dim sum wrapper that actually shattered—like, truly crackled—when you bit into it, you know those store-bought ones are basically just wet paper compared to the real deal. Homemade egg roll wrappers are one of those things people think is too hard to do at home, but honestly, it’s mostly just about patience and a little bit of flour-covered counter space.
It’s weird. We spend all this time obsessing over the filling—the perfect ratio of cabbage to pork, the ginger, the toasted sesame oil—and then we wrap it in a mediocre, preservative-heavy skin that gets chewy the second it cools down. Stop doing that.
The truth is, a proper wrapper is a structural masterpiece. It needs to be thin enough to be translucent but tough enough to hold back a steaming pile of moist filling without exploding in the deep fryer. Achieving that balance isn't magic. It's chemistry.
What Actually Goes Into a Homemade Egg Roll Wrapper?
Most people assume it’s just pasta dough. It isn't. If you try to use a standard Italian pasta dough for an egg roll, you’re going to end up with something that feels like a fried noodle, which is okay, but it lacks that signature bubbly, blistered texture.
The core ingredients are basic: all-purpose flour, eggs, water, and salt. Some old-school recipes from the 1970s—think Joyce Chen’s era of bringing Chinese-American cuisine to the masses—suggested adding a tiny bit of cornstarch to the mix. Why? Because cornstarch inhibits gluten development just enough to keep the wrapper from becoming too bready. You want a crisp snap, not a sourdough chew.
- The Flour: Stick to all-purpose. High-protein bread flour will make the dough too elastic, and you'll be fighting it every time you try to roll it out. It’ll just snap back like a rubber band.
- The Eggs: These provide the fat and the "puff." When the egg proteins hit the hot oil, they expand. That’s where those beautiful little bubbles come from.
- The Rest Time: This is the part everyone skips. If you don't let the dough sit for at least 30 to 60 minutes, you will fail. Seriously. The flour needs time to fully hydrate, and the gluten needs to relax.
The Cornstarch Secret
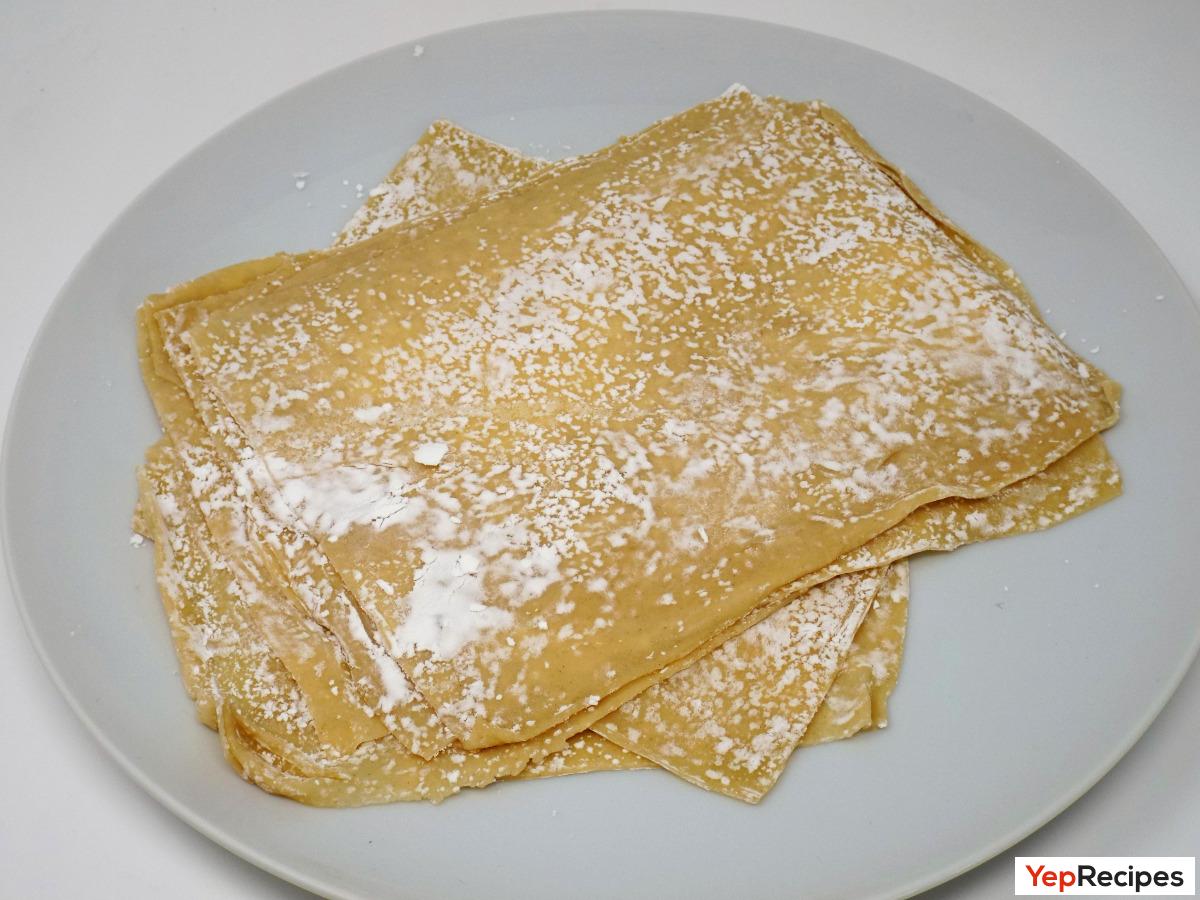
I’ve seen a lot of "quick" recipes online that skip the dusting process. Don't listen to them. When you are stacking your homemade egg roll wrappers, you must use cornstarch between the layers, not flour. Flour gets absorbed into the moist dough and creates a gluey mess. Cornstarch stays dry. It creates a literal barrier. You can stack twenty wrappers high, and they’ll still peel apart like a dream if you’re generous with the starch.
Dealing with the Dough Tension
Kneading is where most people get tired and quit. You aren't just mixing; you’re building a foundation. The dough should feel stiff. If it’s as soft as pizza dough, you’ve added too much water. It should feel almost like modeling clay.
You’ll notice that after about ten minutes of kneading, the texture changes from shaggy and lumpy to smooth and satiny. That’s your cue. Wrap it tight in plastic wrap. If air gets to it, it’ll form a crust, and those crusty bits will tear your wrappers later.
Rolling it Thin (The Hard Part)
How thin is thin enough? You should be able to see the grain of your wooden cutting board through the dough. If you have a pasta roller, use it. Honestly, there’s no shame in that. Set it to the second-to-last setting. If you're doing it by hand with a rolling pin, work from the center out.
Keep flipping it. Keep dusting it. It’s a workout.
But here’s the thing: a hand-rolled wrapper has slight variations in thickness that actually make the final fried product more interesting. You get those extra-crunchy edges and softer, more succulent centers. It’s a "flaw" that’s actually a feature.
The Heat Factor: To Pre-Cook or Not?
There are two schools of thought here. One method uses raw dough squares that go straight into the fryer. This is the standard "egg roll" style common in American takeout. The other method involves lightly searing the wrapper on a dry skillet first—this is more common for spring rolls or certain types of lumpia.
For a true homemade egg roll wrapper experience, I recommend the raw method. When the raw dough hits the 350°F oil, the moisture inside turns to steam instantly. This steam pushes against the egg-strengthened walls of the dough, creating the blisters. If you pre-cook the skin, you lose a lot of that "pop."
Why Your Wrappers Are Tearing
If you’re finding that your dough is ripping while you roll it, one of three things is happening:
- Under-hydration: You didn't let it rest long enough. The "dry" spots are brittle.
- Over-working: You’ve developed too much tension and tried to force it to stretch rather than letting it relax.
- The Filling is Too Wet: This is the silent killer. If your cabbage isn't drained or your meat is still dripping juices, the wrapper will turn into mush before it even hits the oil.
Pro tip: Squeeze your filling. Then squeeze it again. Then let it sit in a colander for twenty minutes. You’d be surprised how much water is hiding in a head of cabbage.
Beyond the Traditional Roll
Once you master the dough, you realize these aren't just for egg rolls. You can cut these into strips and fry them to make the best wonton strips for soup you've ever had. You can use them as a base for "taco" style appetizers.
Some people even use this same dough base for fried ravioli. It’s versatile. Because you control the thickness, you control the experience.
Troubleshooting Common Issues
"My wrappers are oily."
Your oil wasn't hot enough. If the oil is below 325°F, the dough absorbs the fat instead of searing.
"They’re too tough."
You likely used bread flour or over-handled the dough after it rested. Or, you forgot the egg. The egg is non-negotiable for that specific egg roll "shatter."
"The edges won't seal."
A simple egg wash (one egg beaten with a tablespoon of water) is the best glue on the planet. Don't just use plain water; it’s not strong enough to hold the tension of a frying roll.
Making the Jump to Better Texture
If you really want to get nerdy about it, look into the pH of your water. In some regions, highly alkaline water can actually change the color and snap of the dough. It’s why New York bagels or certain noodles taste different. For most of us, tap water is fine, but if you’re a perfectionist, using filtered water ensures no chlorine smell interferes with the delicate flavor of the fried flour.
The difference between a "good" egg roll and a "life-changing" one is 100% the wrapper. It’s the first thing your teeth hit. It’s the vessel. When you make your own homemade egg roll wrappers, you're moving away from the "convenience" of food and toward the "craft" of it.
Actionable Steps for Your First Batch
- Measure by weight, not volume. Use a kitchen scale. 2 cups of flour can vary wildly depending on how you scoop it. 250 grams is always 250 grams.
- Invest in a long, thin rolling pin. The heavy French pins are great for pie crust, but a thin dowel-style pin gives you more control for translucent dough.
- Freeze the extras. These actually freeze remarkably well. Stack them with parchment paper (or a heavy layer of cornstarch) between each one, wrap them in foil, and toss them in a freezer bag. They’ll stay good for two months. Just thaw them completely in the fridge before trying to peel them apart.
- Control the moisture. Salt your cabbage filling and let it weep in a colander for 30 minutes before mixing it with other ingredients to ensure your crispy wrapper doesn't get soggy from the inside out.
- Watch the oil temp. Use a thermometer. Maintaining 350°F is the difference between a golden-brown masterpiece and a greasy disappointment.